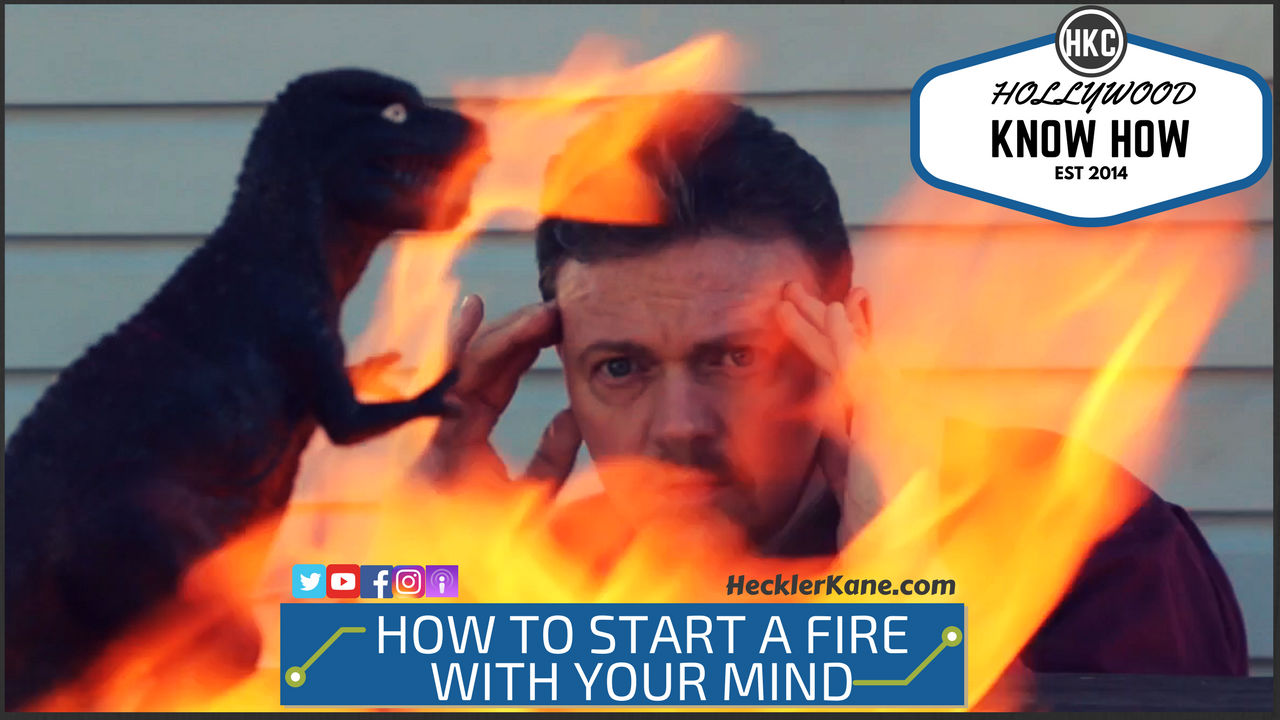
How to Start a Fire With Your Mind
In this episode, Wayne asks the all important question: Do you think people like the X-men could exist in real life? Wayne thinks he can set things on fire with his mind if he concentrates hard enough and Dan dares him to prove it.
Pyrotechnics and fire are always a serious matter on set. Joe explains how to start a fire with a battery and matches which is a useful technique for indie filmmakers to be able to start a fire off camera, from a distance. With some household supplies, this DIY practical movie effect can be effective and looks better than any CGI fire effects you would otherwise have to use as a frugal filmmaker.
Keep in mind, anytime you’re working with fire, safety is important and we recommend supervision while attempting this practical fire effect at home.
Materials To Start a Fire For Your Movie
- Matches
- Plywood
- Copper Wire
- Speaker Wire
- Lighter Fluid
- Battery Powered Drill
- Duct tape
How To Start a Fire with a Battery
- Start by drilling a hole in the plywood and laying it over a hole in the table you’re using.
- Strip the copper wire and leave the metal exposed.
- Strip the ends of the speaker wire leaving the ends exposed.
- Tape several matches together.
- Wind the copper wire like a spring. You can use a match stick as a guide.
- Wrap the wire around the heads of the matches leaving room on each end.
- Wrap one end of the speaker wire to the copper and secure with tape. Repeat on the other end.
- Using your drill battery touch the end of the speaker wires to the leads on the battery.
- This will light the matches from a distance.
- Snake the wire through the hole and place the matches heads up in the hole.
- Center your prop over the hole that you’re going to light on fire.
- Douse in lighter fluid!
What is Hollywood Know How
Hollywood Know How is a resource for the frugal filmmaker to make cheap and easy to use practical effects for their indie films. If you’ve used one of our effects in your indie film, leave us a link to your work and we’ll share it!
Want us to figure out how to make an effect you’re struggling with? Tell us in the comments and we’ll get it done!

 MixKnowledgy is a unique social experience that combines elements of a mixer & a forum. This event in SOHO New York was run by Co-founders